Building a responsive login and registration form is an essential skill for web developers, as it forms the backbone of user authentication on many websites. This project enhances the user experience and adds critical functionality to web applications. In this tutorial, we’ll guide you through creating a fully responsive login and registration form from scratch using only HTML and CSS. This hands-on project will sharpen your front-end development skills while implementing key features such as user login and sign-up, along with form validation.
Why Create a Login and Registration Form?
Every website or web application requiring user accounts needs a well-structured login and registration system. As a developer, mastering the creation of these forms helps you gain a deeper understanding of how front-end processes work. Plus, this project allows you to implement real-world functionality essential for any modern web application.
Step-by-Step Guide to Building the Login and Registration Form
Let’s walk through how you can create your own login and registration form. We’ll divide the process into three simple steps: setting up the project files, creating the HTML structure, and styling the form with CSS.
1. File Structure of the Project
Before we begin coding, set up your file structure. Create two files:
- index.html: This will contain the HTML.
- style.css: This will handle the styling of the form.
Having a well-organized structure will help you manage your code easily.
2. Create the HTML Structure
In your index.html file, you will build the structure for both the login and registration forms. Here’s how you can get started:
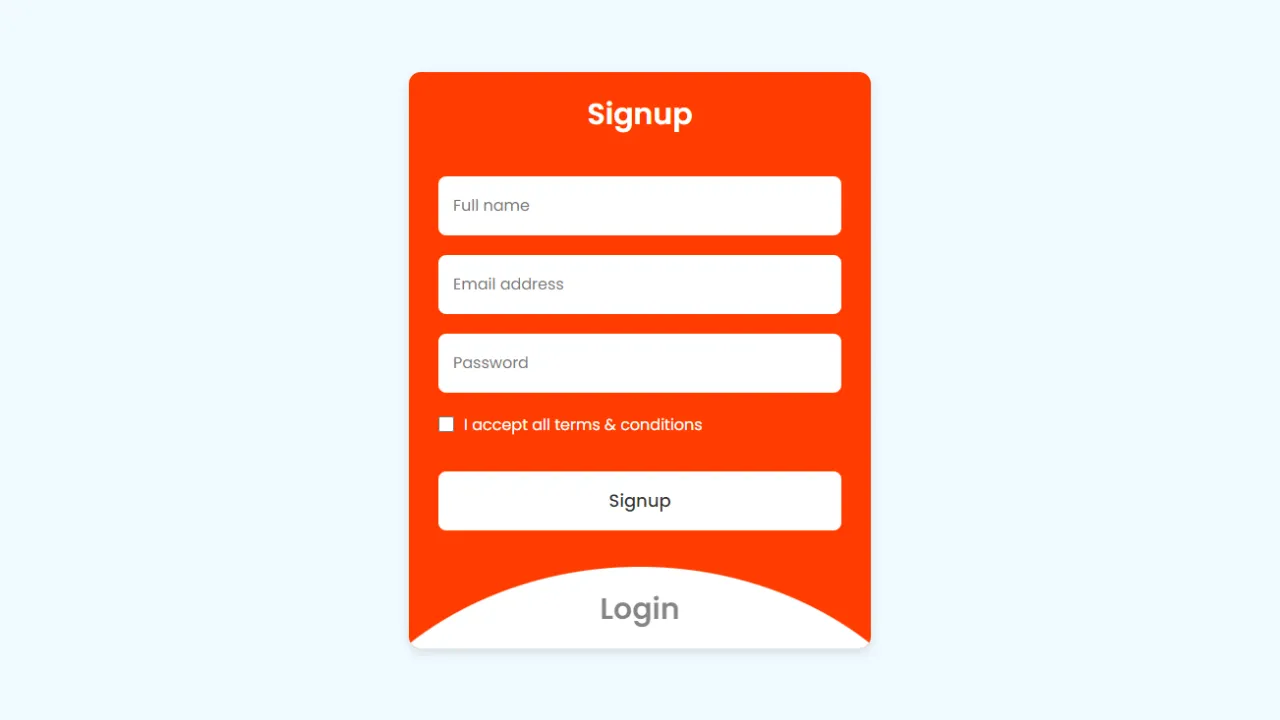
<!DOCTYPE html><!-- Website - www.abhikesh.com --><html lang="en"><head><meta charset="UTF-8" /><meta name="description" content=" Today in this blog you will learn how to create a responsive Login & Registration Form in HTML CSS & JavaScript. The blog will cover everything from the basics of creating a Login & Registration in HTML, to styling it with CSS and adding with JavaScript." /><metaname="keywords"content="Animated Login & Registration Form,Form Design,HTML and CSS,HTML CSS JavaScript,login & registration form,login & signup form,Login Form Design,registration form,Signup Form,HTML,CSS,JavaScript,"/><meta name="viewport" content="width=device-width, initial-scale=1.0" /><title>Login & Signup Form HTML CSS | Abhikesh Kumar</title><link rel="stylesheet" href="style.css" /><script src="../custom-scripts.js" defer></script></head><body><section class="wrapper"><div class="form signup"><header>Signup</header><form action="#"><input type="text" placeholder="Full name" required /><input type="text" placeholder="Email address" required /><input type="password" placeholder="Password" required /><div class="checkbox"><input type="checkbox" id="signupCheck" /><label for="signupCheck">I accept all terms & conditions</label></div><input type="submit" value="Signup" /></form></div><div class="form login"><header>Login</header><form action="#"><input type="text" placeholder="Email address" required /><input type="password" placeholder="Password" required /><a href="#">Forgot password?</a><input type="submit" value="Login" /></form></div><script>const wrapper = document.querySelector(".wrapper"),signupHeader = document.querySelector(".signup header"),loginHeader = document.querySelector(".login header");loginHeader.addEventListener("click", () => {wrapper.classList.add("active");});signupHeader.addEventListener("click", () => {wrapper.classList.remove("active");});</script></section></body></html>
This creates the basic structure for the login and registration forms, with fields for username, email, and password. You can easily extend this form by adding more fields, such as “Confirm Password” or “Forgot Password” links.
3. Style the Form Using CSS
Once the HTML structure is in place, you’ll want to style the form to make it visually appealing. Use your style.css file to add styling like colors, spacing, and animations.
/* Import Google font - Poppins */@import url("https://fonts.googleapis.com/css2?family=Poppins:wght@200;300;400;500;600;700&display=swap");* {margin: 0;padding: 0;box-sizing: border-box;font-family: "Poppins", sans-serif;}body {min-height: 100vh;display: flex;align-items: center;justify-content: center;background: #f0faff;}.wrapper {position: relative;max-width: 470px;width: 100%;border-radius: 12px;padding: 20px 30px 120px;background: #4070f4;box-shadow: 0 5px 10px rgba(0, 0, 0, 0.1);overflow: hidden;}.form.login {position: absolute;left: 50%;bottom: -86%;transform: translateX(-50%);width: calc(100% + 220px);padding: 20px 140px;border-radius: 50%;height: 100%;background: #fff;transition: all 0.6s ease;}.wrapper.active .form.login {bottom: -15%;border-radius: 35%;box-shadow: 0 -5px 10px rgba(0, 0, 0, 0.1);}.form header {font-size: 30px;text-align: center;color: #fff;font-weight: 600;cursor: pointer;}.form.login header {color: #333;opacity: 0.6;}.wrapper.active .form.login header {opacity: 1;}.wrapper.active .signup header {opacity: 0.6;}.wrapper form {display: flex;flex-direction: column;gap: 20px;margin-top: 40px;}form input {height: 60px;outline: none;border: none;padding: 0 15px;font-size: 16px;font-weight: 400;color: #333;border-radius: 8px;background: #fff;}.form.login input {border: 1px solid #aaa;}.form.login input:focus {box-shadow: 0 1px 0 #ddd;}form .checkbox {display: flex;align-items: center;gap: 10px;}.checkbox input[type="checkbox"] {height: 16px;width: 16px;accent-color: #fff;cursor: pointer;}form .checkbox label {cursor: pointer;color: #fff;}form a {color: #333;text-decoration: none;}form a:hover {text-decoration: underline;}form input[type="submit"] {margin-top: 15px;padding: none;font-size: 18px;font-weight: 500;cursor: pointer;}.form.login input[type="submit"] {background: #4070f4;color: #fff;border: none;
This CSS will give your form a clean and simple look, with rounded corners, consistent spacing, and a color scheme that feels modern.
Additional Tips and Tricks
- Responsive Design: Ensure your forms look great on both desktop and mobile devices by using media queries in your CSS.
- Form Validation: Implement form validation with JavaScript to ensure users fill out all required fields properly.
- Security: Always remember that form validation should also be performed on the server side to protect against malicious input.
Conclusion
Building a responsive login and registration form using HTML and CSS is a valuable skill for any web developer. By following this step-by-step guide, you’ll not only create a functional and user-friendly form but also sharpen your front-end development skills. Whether you’re a beginner or an experienced developer, this project is a great way to deepen your understanding of how web technologies work together.
Read Also
- Glassmorphism Login Form in HTML and CSS
Explore the stylish world of glassmorphism as you create a modern login form using HTML and CSS. This guide breaks down the design process step by step. - Toggle Button using HTML, CSS, and JavaScript
Discover how to enhance user interaction by creating a sleek toggle button with HTML, CSS, and JavaScript. This tutorial covers everything from structure to styling. - Responsive Cards in HTML and CSS
Learn how to design eye-catching responsive cards that adapt seamlessly to any device. This guide offers practical tips for achieving stunning layouts. - Build a Google Gemini Chatbot Using HTML, CSS, and JS
Dive into chatbot development by creating a Google Gemini chatbot with HTML, CSS, and JavaScript. This tutorial will help you understand the basics of interactive forms.
Feel free to download the complete source code for this project below and start building!