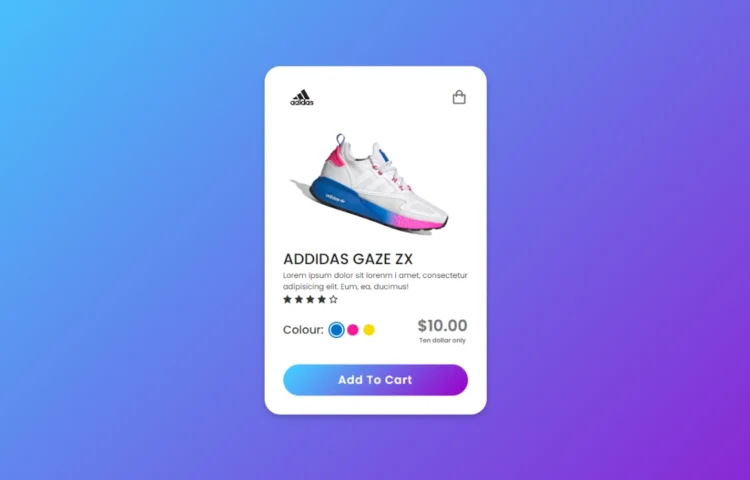
Web developers must understand how to structure and design essential components. A pricing card is one component commonly used to display different pricing plans and subscription options on websites.
This blog post will give you a step-by-step guide on how to make a simple price card using HTML and CSS. It was designed for beginners as it’s easy to understand and follow. You will learn various HTML tags and CSS attributes that will allow you to create a visually pleasing pricing card.
To create this price card, we will use HTML elements such as div, button, h2, and h1, as well as CSS properties. This project is designed for beginners, so you shouldn’t have trouble following along.
How to create a pricing card in HTML and CSS
Follow these easy steps to create a price card in HTML and CSS:
- Create a new folder. This folder can be named anything you want, and the files will be created inside.
- Create a file called index.html. The index.html file must have the extension.html and the name index.
- Create a file called style.css. The file must have the name style with the extension.css.
Add the HTML code below to your index.html. This code contains essential HTML markup, including h1,h2, div,p, etc. Create a pricing sheet.
<!DOCTYPE html>
<html lang="en">
<head>
  <meta charset="UTF-8">
  <meta name="viewport" content="width=device-width, initial-scale=1.0">
  <title>Pricing Card HTML and CSS</title>
  <link rel="stylesheet" href="style.css">
</head>
<body>
  <div>
    <h2>Unlock Exclusive <br> Content</h2>
    <h3>$29<span>/month</span></h3>
    <p>Gain exclusive access to our premium content library. Explore and enjoy high-quality videos on your preferred devices.</p>
    <b>Act fast! Offer ends on September 20, 2023.</b>
    <a href="#">Subscribe Now</a>
    <div>
      <div>Special Offer!</div>
    </div>
  </div>
</body>
</html>
Add the CSS codes below to your style.css to style the pricing card. You can apply colour, font, border and background. After adding the CSS codes, you can view your newly styled price card by loading the page in your web browser.
/* Importing Google font -Open+Sans */
@import url('https://fonts.googleapis.com/css2?family=Open+Sans:wght@300;400;500;600;700&display=swap');
* {
    margin: 0;
    padding: 0;
    box-sizing: border-box;
    font-family: 'Open Sans', sans-serif;
}
body {
    width: 100%;
    height: 100vh;
    background: #fff6f6;
    display: flex;
    justify-content: center;
    align-items: center;
}
.container {
    width: 460px;
    padding: 40px;
    background: #ffffff;
    text-align: center;
    border-radius: 12px;
    overflow: hidden;
    box-shadow: 0 0 15px rgba(0, 0, 0, 0.05);
    position: relative;
}
.container .title {
    font-size: 2rem;
    color: #333;
}
.container .price {
    color: #FF6B6B;
    font-weight: 700;
    font-size: 2.2rem;
    margin: 15px 0;
}
.container span {
    font-size: 1.2rem;
}
.container .description {
    color: #3b3b3b;
    font-size: 1.1rem;
    margin: 20px 0 20px;
}
.container .offer {
    display: block;
    color: #555;
    font-size: 1rem;
    margin-top: 25px;
}
.subscribe-button {
    display: inline-block;
    padding: 15px 0;
    background-color: #FF6B6B;
    color: #fff;
    text-decoration: none;
    border-radius: 30px;
    font-size: 1.2rem;
    margin-top: 40px;
    width: 100%;
    font-weight: 500;
    transition: 0.2s ease;
}
.subscribe-button:hover {
    background: #ff4d4d;
}
.ribbon-wrap {
    width: 150px;
    height: 150px;
    position: absolute;
    top: -10px;
    left: -10px;
    pointer-events: none;
}
.ribbon {
    width: 230px;
    font-size: 0.918rem;
    text-align: center;
    padding: 8px 0;
    background: #FF6B6B;
    color: #fff;
    position: absolute;
    transform: rotate(-45deg);
    right: -17px;
    top: 29%;
}
Read Also
- Glassmorphism Login Form in HTML and CSS
Explore the stylish world of glassmorphism as you create a modern login form using HTML and CSS. This guide breaks down the design process step by step. - Toggle Button using HTML, CSS, and JavaScript
Discover how to enhance user interaction by creating a sleek toggle button with HTML, CSS, and JavaScript. This tutorial covers everything from structure to styling. - Responsive Cards in HTML and CSS
Learn how to design eye-catching responsive cards that adapt seamlessly to any device. This guide offers practical tips for achieving stunning layouts. - Build a Google Gemini Chatbot Using HTML, CSS, and JS
Dive into chatbot development by creating a Google Gemini chatbot with HTML, CSS, and JavaScript. This tutorial will help you understand the basics of interactive forms.
Final Words and Conclusion
If you are a beginner at web development, you can start with a simple project. It’s easy to create your pricing cards using HTML and CSS. This blog post will provide simple codes and steps to create a beautiful pricing card.
You can also recreate other CSS cards on this site to improve your HTML and CSS skills. If you have any problems, please feel free to click the Download button and download the source code for this project. You will receive a zip file on your device.

