When you run a website or web app, people usually sit and stare at a blank screen while the main content arrives. Adding a small loading animation, called a preloader, fills that dead space with something more visually appealing to look at. The tutorial shows how to build a heart-shaped…
Posts Written ByAbhikesh
Build a Gorgeous Responsive Card Slider with SwiperJS in 2025
Imagine adding a fully responsive card slider feature to your website. This addition will improve your website’s aesthetics and entertain your visitors, whether they be products, testimonials, or portfolio items, which will be displayed in the smoothest way possible. As of 2025, modern websites need to have card sliders integrated…
Creating a Glowing Bulb Effect Using Only HTML & CSS: A Step-by-Step Guide
Introduction This tutorial will dive into a fun and creative web design effect – the Glowing Bulb Effect. If you want to add an interactive and visually stunning feature to your website, this is the perfect project. You’ll learn how to create this glowing effect using nothing but HTML and…
Digital Clock with Glowing Effect Using HTML & CSS
Creating a Digital Clock with Glowing Effect Using HTML, CSS, and JavaScript is a fantastic project for web developers of all levels. This blog will guide you through building a sleek digital clock that displays real-time with glowing gradient effects, combining aesthetics and functionality. Whether you’re enhancing your portfolio or…
Create a Secure Random Password Generator App with HTML & CSS
Creating a Random Password Generator App in HTML and CSS is a practical project for beginners and professionals looking to enhance their web development skills. Password security is vital in today’s digital landscape, and building such an app provides users with strong, secure, and randomly generated passwords. This blog will…
Create a Fixed Social Media Sidebar Widget Using HTML & CSS
Social media sharing is a crucial aspect of modern websites. Adding a Fixed Social Media Sidebar Widget enhances user experience and increases content reach by encouraging visitors to share your content on their favourite platforms. In this guide, I’ll walk you through creating a visually engaging and responsive Fixed Social…
Interactive Scroll to Top Button with HTML & CSS
Introduction In today’s digital age, user experience is paramount, and one essential feature that enhances this experience is the Scroll To Top Button. This small yet significant functionality enables users to navigate back to the top of a webpage effortlessly, especially on content-heavy sites. In this article, we’ll discuss how…
Social Media Buttons: Create Stunning 3D Hover Effects
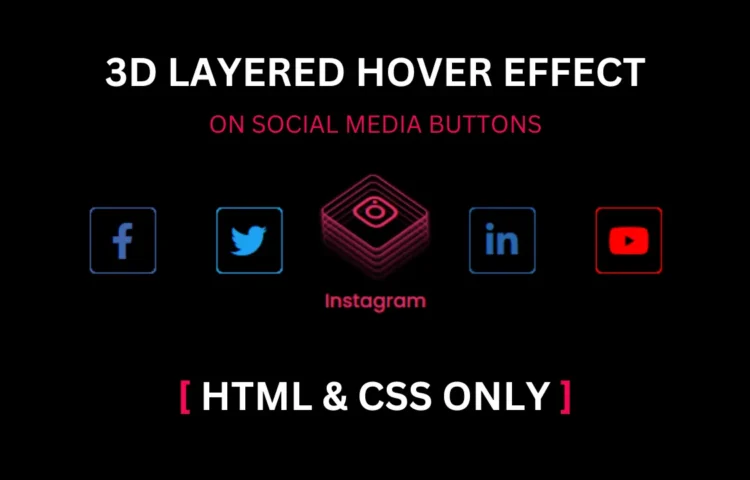
Social Media Buttons are crucial in modern web design, enabling seamless sharing and interaction across various platforms. In this guide, we’ll create Social Media Buttons with a 3D hover effect using HTML and CSS only. Adding 3D hover effects to these buttons enhances their visual appeal and boosts user engagement,…
Create a Stylish Transparent Login Form with HTML & CSS
Are you looking for an elegant, modern, and transparent login form that you can quickly implement using HTML, CSS, and a little JavaScript? This step-by-step guide will walk you through creating a transparent login form design that’s lightweight, responsive, and visually stunning. It’s a great way to offer a sleek…
Stunning Vertical Card Sliding Animation with HTML & CSS
Want to create a cool and sleek vertical card sliding animation for your website with only HTML and CSS? Give a touch of elegance to your website without the clutter of JavaScript! Let’s dive into this comprehensive guide, where we’ll explore how to create a sleek and stylish vertical card…

