
Hey all! In this blog, you’ll learn how to create a Cookie Consent Box using HTML, CSS, and JavaScript. I’ve also demonstrated how to detect an Internet Connection using JavaScript. I’ve also provided various JavaScript projects that may assist in your mission, so be sure to take a look! Cookies are small text documents with bits of data (usually no bigger than 4KB) stored by an internet server on a customer computer/browser to ensure a quality user experience at an online site. This blog demonstrates how you could set cookies into individual browsers as consent boxes through Javascript.
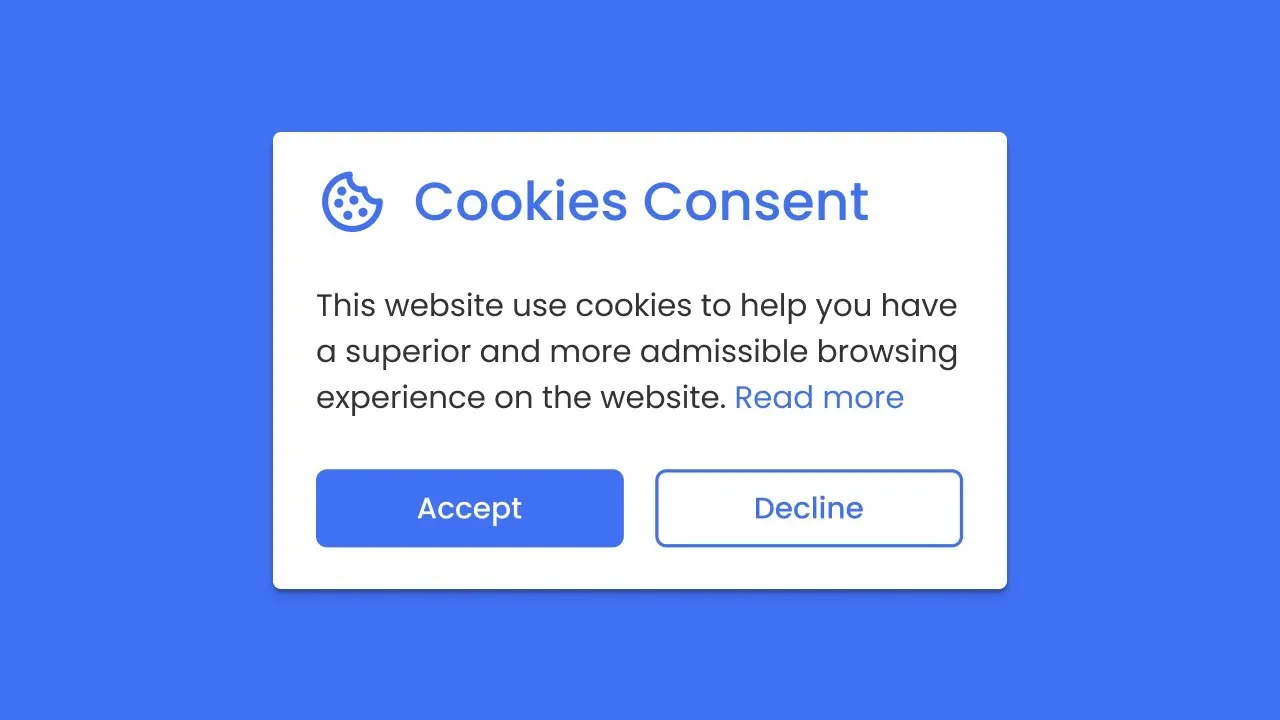
At first, an Internet webpage will have a cookie consent field, as shown in its preview image above. It contains an image, header text, a brief description, a button to accept cookies and a link for additional information about that cookie in this field. Even when refreshing pages, this cookie container will only reappear once you accept cookies through your browser.
Once you receive the cookie by clicking “I understand,” its container will disappear until you manually clear away it or it has not expired. If a website blocks cookies from being placed or this consent container cannot set any for your browser, an error alert container will display instead. By default, all consent containers set will automatically expire after one month, but this period can be increased or decreased according to your wishes.
You have seen in the video how I created a cookie consent box using HTML CSS & JavaScript to build its design layouts, while I used a bit of JavaScript codes to set cookies in consumer browsers. Even amateur programmers can easily make consent fields using our codes and take it further than ever! As is common these days, websites use cookies to provide relevant advertisements and records, so if you also run a website or endeavour, you could quickly implement this cookie field by making minor adjustments in its code. Please find this cookie consent box and its codes to set cookies to consumer browsers useful!
Learn How to Set Cookie Consent Box in a User Browser
To create the Cookie Consent Box, start by creating two files: an HTML File and a CSS File. When those are complete, simply paste their codes into your document—alternatively, you can download them using the button below!
Start creating an HTML document with the name index.Html and copy-pasting these codes. Be aware that documents with an extension HTML cannot be edited directly.
<!DOCTYPE html>
<html lang="en">
<head>
  <meta charset="UTF-8">
  <title>Cookie Constent Box</title>
  <link rel="stylesheet" href="style.css">
</head>
<body>
  <div>
    <img src="#" alt="">
    <div>
      <header>Cookies Consent</header>
      <p>This website use cookies to ensure you get the best experience on our website.</p>
      <div>
        <button>I understand</button>
        <a href="#">Learn more</a>
      </div>
    </div>
  </div>
  <script>
    const cookieBox = document.querySelector(".wrapper"),
    acceptBtn = cookieBox.querySelector("button");
    acceptBtn.onclick = ()=>{
      //setting cookie for 1 month, after one month it'll be expired automatically
      document.cookie = "CookieBy=CodingNepal; max-age="+60*60*24*30;
      if(document.cookie){ //if cookie is set
        cookieBox.classList.add("hide"); //hide cookie box
      }else{ //if cookie not set then alert an error
        alert("Cookie can't be set! Please unblock this site from the cookie setting of your browser.");
      }
    }
    let checkCookie = document.cookie.indexOf("CookieBy=CodingNepal"); //checking our cookie
    //if cookie is set then hide the cookie box else show it
    checkCookie != -1 ? cookieBox.classList.add("hide") : cookieBox.classList.remove("hide");
  </script>
</body>
</html>
Second, create a CSS report named favor. Css and paste the given code into it. Please remember to name it favor.Css for your report extension.
@import url('https://fonts.googleapis.com/css2?family=Poppins:wght@200;300;400;500;600;700&display=swap');
*{
  margin: 0;
  padding: 0;
  box-sizing: border-box;
  font-family: 'Poppins', sans-serif;
}
body{
  background: #FCBA7F;
}
.wrapper{
  position: absolute;
  bottom: 30px;
  left: 30px;
  max-width: 365px;
  background: #fff;
  padding: 25px 25px 30px 25px;
  border-radius: 15px;
  box-shadow: 1px 7px 14px -5px rgba(0,0,0,0.15);
  text-align: center;
}
.wrapper.hide{
  opacity: 0;
  pointer-events: none;
  transform: scale(0.8);
  transition: all 0.3s ease;
}
::selection{
  color: #fff;
  background: #FCBA7F;
}
.wrapper img{
  max-width: 90px;
}
.content header{
  font-size: 25px;
  font-weight: 600;
}
.content{
  margin-top: 10px;
}
.content p{
  color: #858585;
  margin: 5px 0 20px 0;
}
.content .buttons{
  display: flex;
  align-items: center;
  justify-content: center;
}
.buttons button{
  padding: 10px 20px;
  border: none;
  outline: none;
  color: #fff;
  font-size: 16px;
  font-weight: 500;
  border-radius: 5px;
  background: #FCBA7F;
  cursor: pointer;
  transition: all 0.3s ease;
}
.buttons button:hover{
  transform: scale(0.97);
}
.buttons .item{
  margin: 0 10px;
}
.buttons a{
  color: #FCBA7F;
}
Read Also
- Glassmorphism Login Form in HTML and CSS
Explore the stylish world of glassmorphism as you create a modern login form using HTML and CSS. This guide breaks down the design process step by step. - Toggle Button using HTML, CSS, and JavaScript
Discover how to enhance user interaction by creating a sleek toggle button with HTML, CSS, and JavaScript. This tutorial covers everything from structure to styling. - Responsive Cards in HTML and CSS
Learn how to design eye-catching responsive cards that adapt seamlessly to any device. This guide offers practical tips for achieving stunning layouts. - Build a Google Gemini Chatbot Using HTML, CSS, and JS
Dive into chatbot development by creating a Google Gemini chatbot with HTML, CSS, and JavaScript. This tutorial will help you understand the basics of interactive forms.
Assuming your code works correctly and no errors or trouble arises, download the source code files via the given download button. They are free zip files that must be extracted later.







Finally, a straightforward tutorial on implementing cookie consent! Your step-by-step instructions made it a breeze to add this crucial feature to my website. Thank you!
This tutorial deserves five stars! It’s rare to find such clear, concise guidance on a topic like form cookies. Thanks for making it accessible to everyone.
Thank you for simplifying what seemed like a complex topic. Your tutorial was incredibly helpful, and I now feel confident incorporating form validation into my web designs. Keep up the great work!
I’m just starting out in web dev, and your tutorials have been a lifesaver. Thanks for sharing this!